
| Amy Leigh S* ( @ 2010-08-10 20:35:00 |
|
|
|||
|
|
|
|
|
|
|
| Entry tags: | images: backgrounds, resources: tutorials |
How to Make Tiling Background
Why rely on others' backgrounds when you can make your own? Here's how. You'll need Adobe Photoshop to do it.
Start by making an image with heights and widths divisible by 2. This isn't a requirement but it makes things easier. For the purpose of this tutorial I'm going to do 400x400 pixels. It's just easier. I'm also going to set a background color on it so that you can see where the edges are. I'll use hexidecimal "95085b" because it's purdy.

Now the images you use are very important. Mainly you don't want anything that has a cutoff on the ground line. You could take a texture and warp and manip it to be seemless, but that's a lot of work that really relies on your skill with photoshop. Using clipart is something everyone can do, regardless of skill.
Paste the first image on. You can put it anywhere and any size so long as it doesn't go off the edge. It's a good idea to vary scale and rotation of these images to avoid a grid type appearance.

The art I'm using is from Robuzz @ deviant art, btw. After you have that first image on, we'll jump right to the big secret.

Offset the image by exactly half the dimensions. You can do it by another number, but half is easiest and there's no real reason to pick another number so I'm not going to bother explain much more about that. Just do half. This is what you should get:
Now go ahead and paste some more clipart in! It is acceptable to make images overlap so long as you never go off the edge. If you go off the egde you will just LOSE that and it will look terrible when tiling.

Now do the offset trick again, once more by half. (200 pixels in this case).

Go ahead and fill some more in. If you leave any gaps it will probably just stop it from being too cluttered.

You can shrink it if you'd like, or leave it at full size. I brought it down to 200x200.
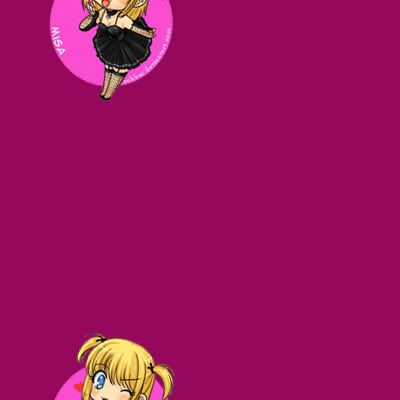
| LOOK! A PREVIEW! IN ACTION! |
Congratulations, you have a tiling background! Just don't be lame and put red text on top of a high contrast, busy background, okay?