
| Suzaku Kururugi ( @ 2009-07-23 11:22:00 |
|
|
|||
|
|
|
|
|
|
|
ETA on April 5, 2011: Hey, people. :D FYI, I am still totally available to answer any layout questions you might have! I've edited the code provided below to try and help people avoid a mistake that seemed very common, sob, and also just for consistency because some of my font sizes were in pixels before. >>
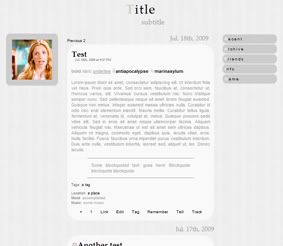
These layouts will look best with at least one image, provided by you! First, a header graphic -- and second, optionally, a tiling background image (this is a fantastic resource).
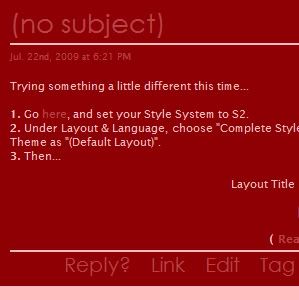
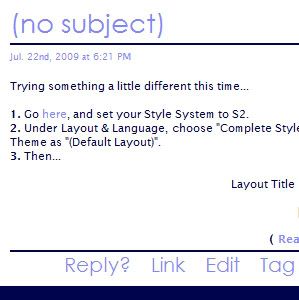
1. Go here, and set your Style System to S2.
2. Under Layout & Language, choose "Complete Style" from the dropdown menu. Leave your Theme as "(Default Layout)".
3. Then...
One Column | Header Image-Compatible | Title/Subtitle Compatible
[ LIVE ]
First, set your layout to One Column. Then...
1. Set "Show Day Header" to No.
2. Set all Text items appropriately.
3. Make a header image! Figure out its width and height. (Be sure to also make or find a tiling background image.)
4. Choose a color scheme (or make up your own).
5. Open up any text editor (Notepad, Word, etc) and do a Find and Replace to change the colors and heights/widths appropriately.
6. Paste everything into your Custom Stylesheet box!
7. Admire the end result, and tweak it however you like.
If you have any questions or problems (or you have a paid account and want a custom comment page!), just let me know and I'll see what I can do for you. :D
And here's the run-down on customizing:
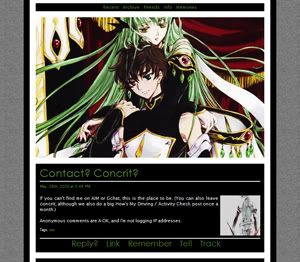
#HIGHLIGHT: the green on Suzaku's layout (links and entry-date)
#LOWLIGHT: the "hover" color of links on Suzaku's layout
#FORECOLOR: the white on Suzaku's layout
#BACKCOLOR: the black on Suzaku's layout
LAYOUTWIDTH: a number representing the width of Suzaku's layout in pixels
URL_OF_BG_IMAGE: the background of Suzaku's layout
URL_OF_HEADER_IMG: the header image of Suzaku's layout
(HEADERHEIGHT+35): take the height of your image, add 35 pixels for spacing, and remove the ()'s
#header-text: do you want to move this around on your image? apply margins! "margin-top: 50px; margin-left: 200px;" (without quotes) will move the text down 50 pixels and left 200 pixels; play around, have fun!
If you don't want the subtitle / title of your journal to be visible, find this code:
#header-text {
background: transparent;
border-style: none;
}

#header-text h1, #header-text p {
margin: 0;
text-shadow: rgba(0,0,0,1) 1px 1px 5px, rgba(0,0,0,.5) -1px -1px 5px,
rgba(0,0,0,.5) 1px 1px 0, rgba(0,0,0,.5) -1px -1px 0;
}

#header-text h1 {
opacity: 0.8;
letter-spacing: 2px;
text-align: left;
}

#header-text p {
opacity: 0.7;
font-weight: bold;
font-style: italic;
}
and replace THE WHOLE THING with this:
#header-text {
display: none;
}


And...!
Want to change your colors? Or add a header image? These are what the codes in your code mean:
#HIGHLIGHT: links
#LOWLIGHT: the "hover" color of links (and a color on your sidebar calendar you'll probably never see)
#BGCOLOR: the background color of the page
#ACCENTCOLOR: border around icons
#MINORACCENT: the color of the datetime and the metadata titles
#FORECOLOR: most of the text (entry, etc)
#BACKCOLOR: the background color of entries
LAYOUTWIDTH: a number representing the width of your layout in pixelsOptionally:
URL_OF_BG_IMAGE: the background image of your layout
URL_OF_HEADER_IMG: the header image of your layout
(HEADERHEIGHT+10): take the height of your image, add 10 pixels for spacing, and remove the ()'s
If you want a background image instead of a background color, find this line:
body {
background: #BGCOLOR;
color: #FORECOLOR;
}
And replace it with:
body {
background: #BGCOLOR url(URL_OF_BG_IMAGE) fixed;
color: #FORECOLOR;
}
(The image will cover up the color, but you'll probably see the color sometimes while the image loads, so make sure it coordinates to keep yourself from going briefly blind. ;)
If you want a header image, find this line:
#header {
margin-bottom: 5px;
padding: 10px 0 0 0;
}

#header-text {
background: none;
margin: 0;
padding: 0;
border: 0;
}

#header-text h1 {
margin: 0;
}

#header-text p {
color: #FORECOLOR;
font-style: italic;
margin: 0 0 10px 0;
text-indent: 60px;
}
And replace it (yes, ALL of it) with:
#header {
background: transparent url(URL_OF_HEADER_IMG) no-repeat top;
height: 30px;
margin: 10px 0 0 0;
padding: (HEADERHEIGHT+10)px 0 0 0;
}

#header-text {
display: none;
}
Unfortunately, due to the limitations of this layout, if you want to put a border around your image, you're going to have to do it yourself with a program like Photoshop.
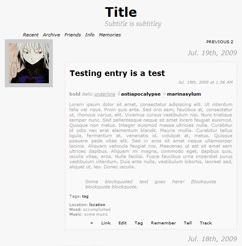
Flowing Revisited
Want to change your colors? Or add a header image? These are what the codes in your code mean:
#HIGHLIGHT: links
#LOWLIGHT: the "hover" color of links (and a color on your sidebar calendar you'll probably never see)
#BGCOLOR: the background color of the page
#ACCENTCOLOR: border around icons
#MINORACCENT: the color of the datetime and the metadata titles
#FORECOLOR: most of the text (entry, etc)
#BACKCOLOR: the background color of entries
LAYOUTWIDTH: a number representing the width of your layout in pixels
URL_OF_BG_IMAGE: the background image of your layoutOptionally:
URL_OF_HEADER_IMG: the header image of your layout
HEADERWIDTH: a number representing the width of your header image in pixels
HEADERHEIGHT: a number representing the height of your header image in pixels
If you want a header image, find this line:
#header {
padding: 0;
}

#header-text {
background: none;
margin: 0;
padding: 0;
border: 0;
}

#header-text h1 {
font-weight: normal;
margin: 0;
}

#header-text h1 a, #header-text p {
font-family: "palatino linotype", "book antiqua", palatino, serif;
}

#header-text h1 a {
display: block;
letter-spacing: 2px;
}

#header-text h1 a::first-letter {
font-weight: bold;
color: #ccc;
}

#header-text h1 a:active::first-letter, #header-text h1 a:hover::first-letter {
color: #HIGHLIGHT;
}

#header-text p {
color: #FORECOLOR;
margin: -2px 0 18px 0;
text-transform: lowercase;
text-indent: 60px;
}
And replace it (yes, ALL of it) with:
#header {
background: transparent url(URL_OF_HEADER_IMG) no-repeat top;
width: HEADERWIDTHpx;
height: HEADERHEIGHTpx;
margin: 20px auto;
padding: 0;
border-radius: 30px;
-moz-border-radius: 30px;
-webkit-border-radius: 30px;
}

#header-text {
display: none;
}