InsaneJournal
Tweak says, "Great Scott!"
Username:
Password:
Remember Me
Create Account
IJ Login
OpenID Login
Search by
:
Username
E-mail
Region
Interest
AOL IM
ICQ Number
Yahoo! ID
MSN Username
Jabber
View
Create Account
IJ Login
OpenID Login
Journal
Post
Edit Entries
Customize Journal
Comment Settings
Recent Comments
Manage Tags
Account
Manage Account
Viewing Options
Manage Profile
Manage Notifications
Manage Pictures
Manage Schools
Account Status
Friends
Edit Friends
Edit Custom Groups
Friends Filter
Nudge Friends
Invite
Create RSS Feed
Asylums
Post
Asylum Invitations
Manage Asylums
Create Asylum
Site
Support
Upgrade Account
FAQs
Search By Location
Search By Interest
Search Randomly
Autopsy Fear (
autopsyfear
) wrote in
graphicjunky
,
@
2008
-
01
-
24
16:10:00
Icon Coloring Tutorial/Photoshop CS
Original tutorial by
lakitu
@ greastestjournal.com
Should be translatable to any other Photoshop progam.
to
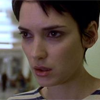
01. Duplicate the base set it to screen as many times as need to lighten it up.
I used 3 copies of the base set to screen 100% and once more at 59%.
02.New layer filled with EEE9D6 set to multiply at 100%.
03.New adjustment layer for Curvers set at 84% opacity.
04.New layer filled with 6A675E set to color burn at 16%.
05.New layer filled with 052B49 set to exclusion at 32%.
06.New layer filled with FFECFC set to color burn at 100%.
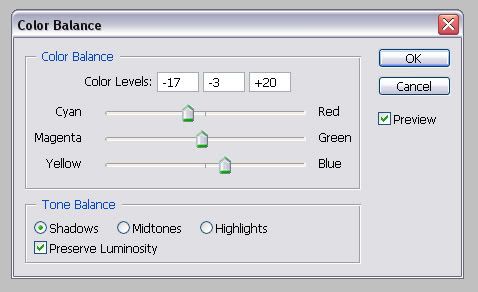
07.New adjustment layer for color balance set at 100% opacity.
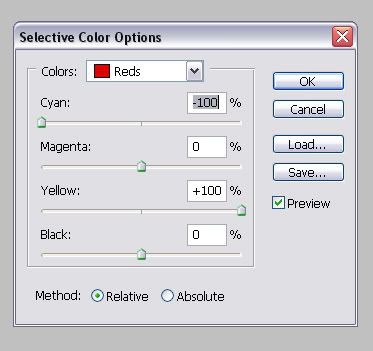
07.New adjustment layer for selective colour set at 100% opacity.
And that's it!
(
Read comments
)
Post a comment in response:
From:
( )
Anonymous
- this user has disabled anonymous posting.
( )
OpenID
InsaneJournal user
Username:
Password:
Login?
Don't have an account?
Create one now
.
Subject:
No HTML allowed in subject
Don't auto-format:
Message:
Check spelling during preview