
| jaclyn wishes you hundreds of fat children. ( @ 2010-05-20 12:39:00 |
|
|
|||
|
|
|
|
|
|
|
| Entry tags: | ! misc, tutorial |
| Step One We're going to be using my two favorites, FontGarden and DAfont, although honestly there is no difference except in what their pretty little button looks like. FontGarden: 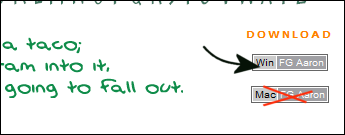 DAfont: 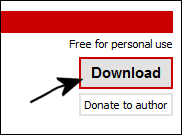 DAfont (in the individual font's page): 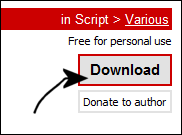 Now, click on where the arrow is pointing. Note that on FontGarden I crossed out the Mac button. Not only do I have a true dislike for Macs but I also just don't plain have one so not only do I not know how to install one but even if I did I wouldn't be able to make you the pretty images. Anyway, have you clicked yet? Good. Step two. |
Step Two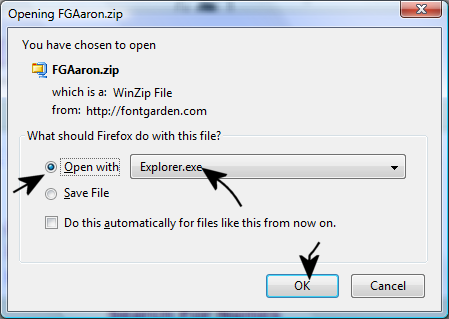 No matter which site you're using, the same general box should pop up and it should look like that. While there are many different unzipping programs, I don't have one anymore and I find this method to be easier anyway. So, following along with my methods, make sure to click "Open with" and make sure the path is Explorer. Please note, this is not the same as Internet Explorer. This is what you normally use to browse images and documents and whatnot. Making sure these two fields are correct, hit "OK" and it will download. |
| Step Three I'm going to have to assume that your files, like mine, go to your Temp folder. Perhaps instead they go to a download folder or something, but whatever the case, they should be zipped and this zipped folder should now pop up with your files, like so: 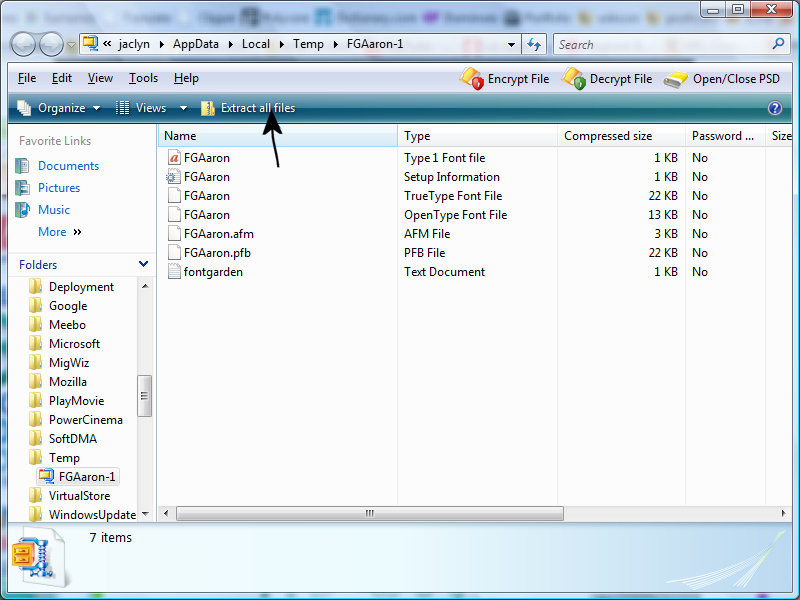 Click "Extract all files" and the following should appear: 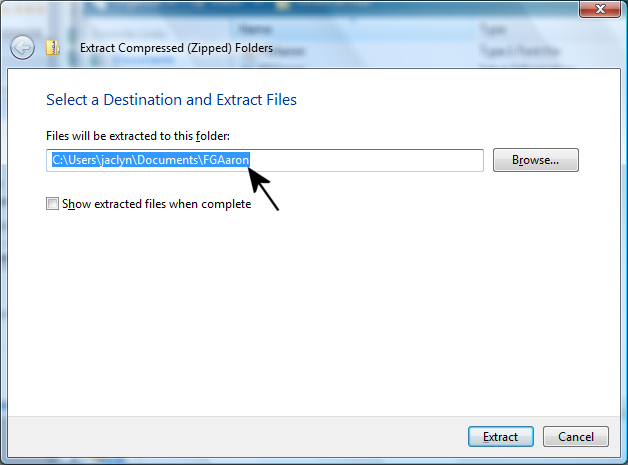 See the destination URL? That's the default on my computer and I've never told it to do anything differently, so I'm assuming yours will be that, too. You could leave it like that or you could do what I do: 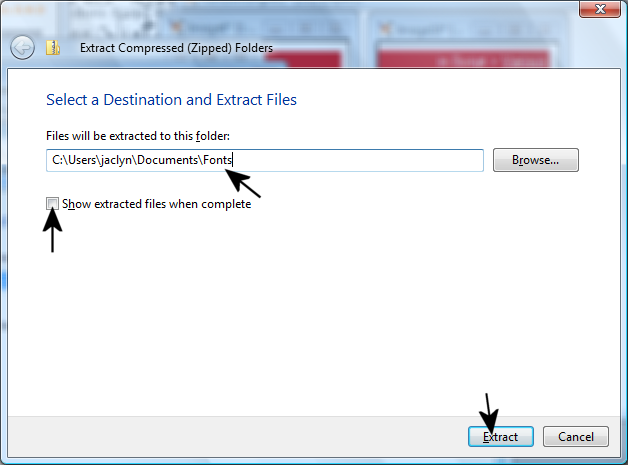 I change it to a "Fonts" folder in My Documents. This makes things speedier later on. You can install multiple fonts at once and won't be cluttered with dead folders in your Documents later if you have one you keep handy just for this purpose. Anyway, once you've changed it to whatever you want it to be, make sure "Show extracted files when complete" is selected so you don't have to go searching (although, if you do de-select it or forget to re-select it, it's easy enough to find. Just go to your Documents folder when it's done). Then click "Extract" and after a second you move onto step four. |
Step Four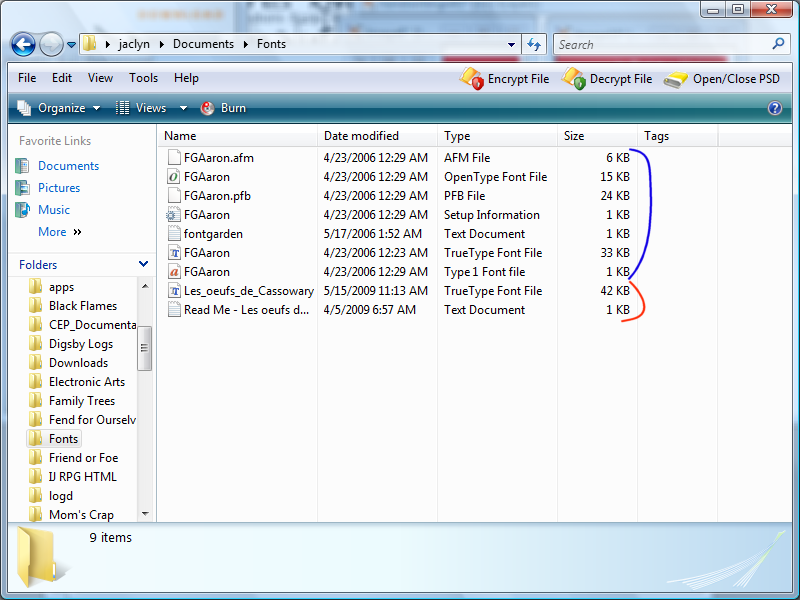 This is why I have a Fonts folder, besides not having to delete the shell of their default folders later. I now have two (though I do far more than that at once normally) fonts sitting in the folder, as well as all their baggage. That's what we focus on now. Delete the baggage. 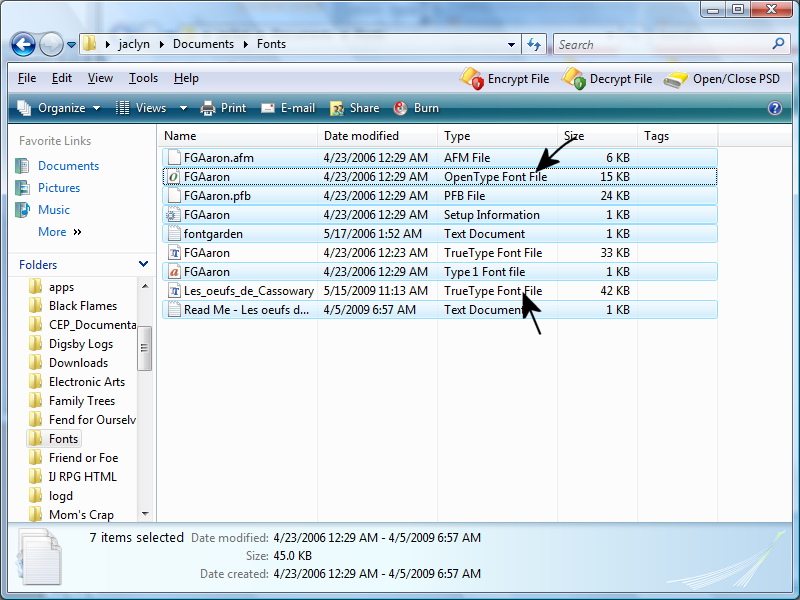 Normally, rule of thumb is to keep "OpenType Font File" and "TrueType Font File" and delete the rest: sample images, readmes, etc. Those are nice, but I am your readme. However, I deleted the FG Aaron OpenType file because it came with a TrueType file. TrueType fonts print correctly from Word while OpenType are not guaranteed, at least according to my understanding and experimentation. At the very least, I've never gone wrong with TT, though I do have some OT. Anyway. Delete away until we are left with just our TT and OT fonts. |
Step Five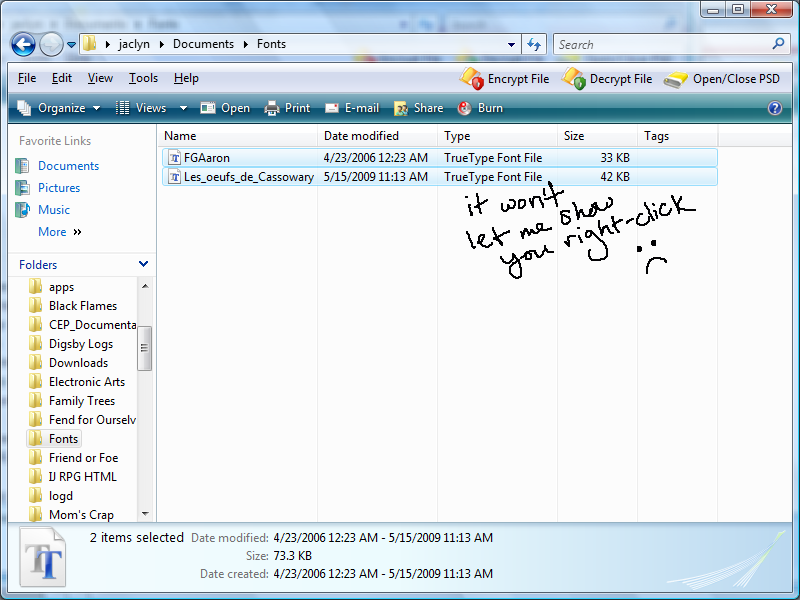 Now we have our two (or more, or less) fonts. Select them and right-click. It won't let me screen-cap the right-click menu. When you right-click, a drop-down menu appears. Select "Install" not "Open." The fonts will now Install. |
| Step Six Finally, going along with the theme of reusing this folder later and thus why we even created it, delete the files. (However, I do recommend checking in Word that they work. If they're not showing up, make sure you close and re-open Word before making sad faces. If they still aren't, try installing again. If that doesn't work, I really have no clue.) 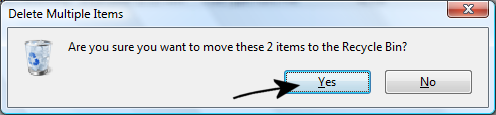 And there you have it! Happy fonting! 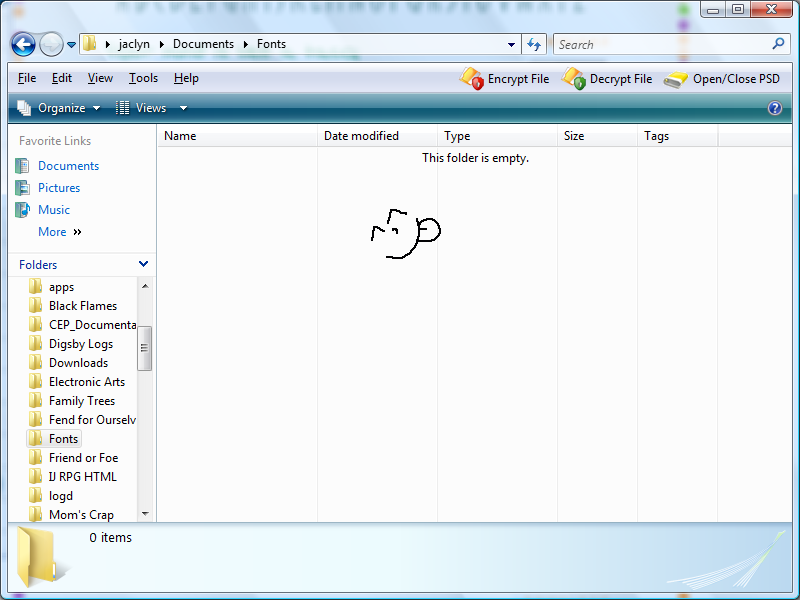 |